Things to Know
Group Composition
Unique Rewards
Phase Timing
Many mechanics occur at predictable times during this fight. Here’s a general outline of when you can expect an ability or add to show up, with a few seconds discrepancy here and there (and utilize Starparse timers!):
Know the Enemies
- Mutated Geonosian Queen: The main feature of this encounter, the Hive Queen has the ability to summon several types of adds (listed below), stun and kill the tank (in veteran mode), has routine threat drops (whenever her target is kicked back), puts circles on the group, and has periodic instances of immobility (usually during casts). Prepare to enter burn phase around 30% health in all difficulties and focus as much single target damage on the boss as possible.
- Geonosian Elite Guard: The Royal Guard has four primary abilities (three of which show up in veteran mode only) and one protective function.
- Royal Guards apply a 50% damage reduction buff to the Hive Queen, per enemy. Players should never damage the Hive Queen while a Royal Guard is out.
- Royal Guards have a yellow conal that will follow their target. In story mode, you can destroy red eggs (which contain Berserkers), else just make sure they are turned away from the group. In veteran mode, breaking eggs with a Royal Guard’s cleave is required.
- In veteran mode, if the guard stuns its target, it will execute them (an instant kill) unless it is stun locked until death. The series of this attack is the use of Concentrate (buff), which enables the use of Staggering Strike (stun), followed by Execute (instant kill).
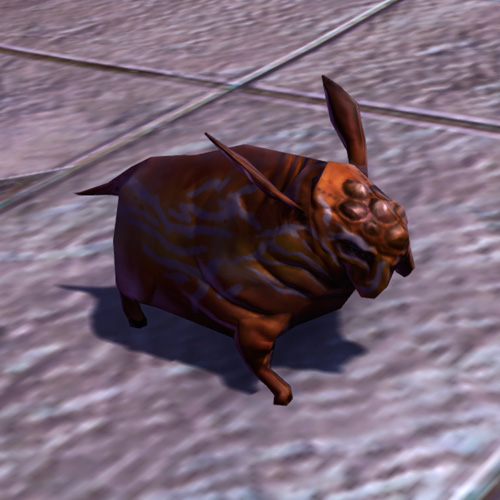
- Geonosian Lacerator: These adds are general trash mobs and should never be single targeted. Eliminate them with DoT spread and rotational AoE. Stack up on the boss AT ALL TIMES to manage them.
- Caustic Drone: These ranged adds fling caustic spit at players that, when it lands, deals AoE damage. Their Caustic Blast applies the Caustic Acid debuff, which deals internal damage every 3 seconds and stacks up to 10 times. It takes 12 seconds to fall off. Caustic Blast can also destroy red eggs but managing this mechanic is tricky. Generally their target should avoid stacking closely with the group until they are dead.
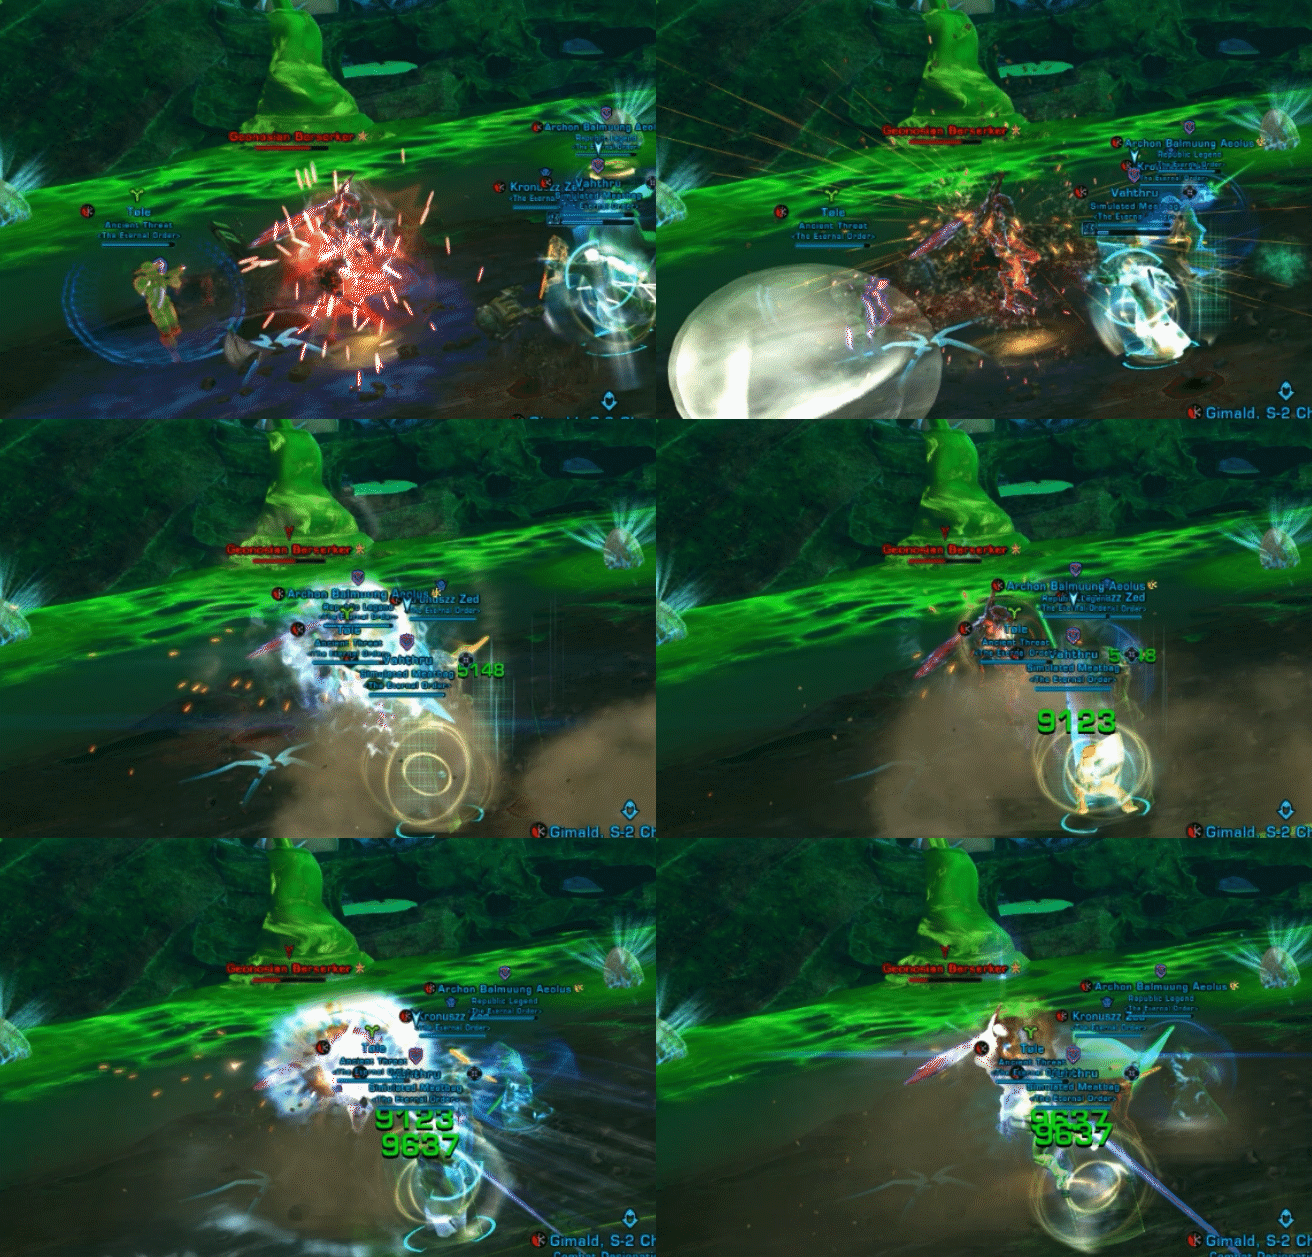
- Geonosian Beserker: Summoned when a red egg is broken by Pheromonic Blast or during Rallying Call, this add does a massive amount of damage.
- Their main attack is called Reave, a 4 meter, 90 degree conal with no cooldown. Reave applies a stacking debuff called Reft, which deals internal damage over time. The DoT also ticks whenever players receive a new stack. Reft stacks up to 25 times, ticks every 3 seconds and takes 18 seconds to fall off. The debuff can and should be cleansed. Each Beserker applies its own stack, so if two are up, you will have two sets of the debuff.
- Berserkers are also highly resistant to AoE damage, so single target damage is best.
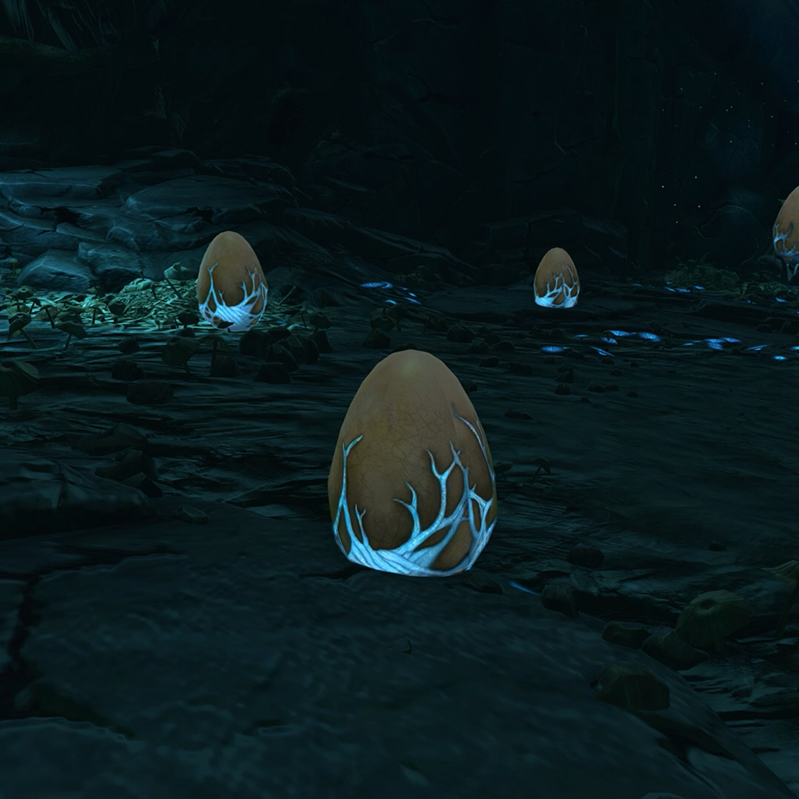
- Eggs: Eggs come in two flavors – normal (blue) and infused (red) – and can be either intact or cracked. Normal eggs contain easy to kill trash mobs. Infused eggs contain Berserkers. An egg can take 2 ticks of damage from Pheromonic Blast (yellow does 1 tick, red does 2 ticks) before it breaks. Managing these enemies is central to veteran mode success, as Berserkers at the wrong time will cause a wipe.


Tactics
Phase I
Start the encounter by engaging the boss. This portion of the fight includes mostly single-target damage, a few threat drops, and kiting Pheromonic Blast circles out of the group.
- Story mode: Simply drag the circles out of the group.
- Veteran mode: Be sure to break 2 red eggs by placing the red center over a red egg, 1 per Pheromonic Blast. Also watch for a tank stun near the 30 second mark – the tank will want to stun break or an off-tank or DWT will want to taunt the boss.
Phase II
Around 50 seconds to 1 minute into the fight, the first set of Royal Guards (called by the Royal Summons cast) will arrive. DPS should gang up on one (usually east) and kill it while the tank holds the other until it’s ready to be killed. The boss will continue attacks like Pheromonic Blast (circles) and Growth Hormone (turning eggs red) during this phase. No one should be attacking the boss, not even the tank, because of the damage reduction buff the Guards apply to the Hive Queen (50% per guard).
- All modes: In all modes, the Royal Guards should be killed BEFORE Rallying Call completes (ideally near the start of the cast).
- Veteran Mode: Use the conal of the Royal Guards to kill red eggs. Additionally in veteran mode, kill the first Royal Guard as soon as possible and immediately start stun locking the Royal Guard on the tank to prevent use of its Execute mechanic. You can typically break 2 eggs before you need to stun the second Royal Guard.
Phase III
Group up on the boss and continue single target damage all through Rallying Call. Use rotational AoE to take out any Lacerators that spawn from broken eggs.
Keep an eye out for Berserkers as these need to be faced away from the group and burned down quickly. Use single-target damage to kill them as they have a higher defense against AoE damage.
Around the 2 minute mark, the second round of Royal Summons will occur, this time summoning Caustic Drones on the east side. Note that their spit is an AoE in all modes.
- Story mode: Drag the boss on top of one Caustic Drone and pull / knock the other into the group. You can use rotational AoE to burn them down.
- Veteran mode: You can use their Caustic Blast to kill any remaining red eggs by getting their aggro and standing on top of an egg. If this is not feasible, simply kill them to reduce overall damage taken.
In veteran mode, near the 2 minute 30 second mark, the second tank stun will occur – either stun break or have another player taunt the boss to stop the follow-up Guillotine attack from the boss.
Phase IV
Near the 3 minute mark, the third use of Royal Summon will occur, bringing with it the second set of Royal Guards. Rinse and repeat the mechanics for handling them depending on the difficulty you are in.
- Veteran mode: This phase, and the start of the Rallying Call, typically marks the start of burn for veteran mode (around the 3:30 – 4 minute mark). All Royal Guards must be dead by the completion of Rally Call, and, more importantly, raid buffs should be used before the channel completes.
Phase V: Entering Burn
In most groups, burn starts at or during the second Rally Call and after the second set of Royal Guards. Once the Hive Queen is killed, all adds disappear.
- Some story mode groups will not be close enough to the 30% mark at this point if their DPS is low. As such, you’ll want to prepare for a Royal Summons of Caustic Drones (kill or ignore them as needed) as well as the possible use of Pheromonic Multi-Blasts which apply more than one circle on players (it’s a Pheromonic Blast, but on more than one player – up to 3 total). If you run into the third set of Royal Guards, it IS still possible to complete the fight, but you will need to kill them and then focus everything on the Hive Queen until it is dead. Past that point, tanks and healers must be prepared to kite adds even in story mode.
- Veteran mode groups CANNOT survive a third set of Royal Guards. So if they are on track with the DPS check, your group will experience Pheromonic Multi-Blasts, which apply sets of 2 and 3 circles on players that must be pulled out of the group and away from red circles. DPS should be focusing the Hive Queen alone at this point and AVOIDING all possible AoE, even if rotational, if adds are nearby. For this strategy to work, tanks and healers are required to kite adds – there are too many Berserkers to survive at this point – until the boss is killed.

Tips for dealing with…


Veteran Mode Changes
8 Person Veteran
- Both the Hive Queen and Royal Guards stun and will instantly kill stunned targets. These attacks are called Guillotine (Hive Queen) and Execute (Royal Guard). The Hive Queen’s attack require a stun break. The Royal Guard’s attack should be entirely mitigated by keeping the last Royal Guard incapacitated with hard stuns as soon as the first is killed. Work out a stun rotation to pull off this strategy.
- Berserkers do much more damage. As they spawn from red eggs, all groups will want to be strategic about when and where they are introduced into the fight. Killing extra up front is ideal, as well preventing them from spawning by breaking their red eggs with the attacks of Royal Guards and Caustic Drones.
- If extra Berserkers spawn, have 2-3 DPS pile on them OUTSIDE of the group and burn them down quickly before returning to the boss.
- DPS should pile onto one Royal Guard to kite and kill it and then immediately move to the Royal Guard being held by the tank and stun it to prevent it from using its Execute on the tank. The last Royal Guard must be repeatedly stun locked until dead. The timing of this allows for the destruction of four red eggs total, two per Guard, with two handed by a kiting DPS – kill the first Royal immediately after the second egg is destroyed, the tank can stun their Royal after their second egg is destroyed, and then DPS and healers assist with the remaining stuns.
- Tanks will have difficulty maintaining the attention of the second Royal Guard (due to how they “forget” threat) if any DPS target the second Royal at any point prior to needing to stun it. Make sure that DPS are attacking the correct target at all times.
- Burn starts at 30% and all DPS should single target the boss at that point. Even though Rallying Cry goes out, DPS must ignore all adds and allow healers and tanks to kite them while the boss is killed. There will be too many Berserkers by that point to feasibly down all adds without hitting the hard enrage. Raid buffs should be used BEFORE the Rallying Cry cast finishes as they may aggro adds to the DPS (particularly for any raid buffs including heals).
16 Person Veteran
All mechanics from 8 person veteran mode apply, however it’s important to note the following changes, largely concerning damage taken:
- A defensive must be used during Pheromonic Blast. Currently the 16 person veteran fight is over tuned and damage dealt by all attacks is scaled way up. As such, Berserker conals, Pheromonic Blast, conals from Royal Guards, Caustic Blast from Caustic Drones, and more all deal much more damage. Because DPS is the most important part of this fight – as well as the ability to quickly swap targets – DPS must stay alive to see it through. 16 person groups are unlikely to succeed if they lose more than a couple damage dealers.
- Avoid fluffing DPS on adds at all costs. It’s imperative to deal as much single-target damage to the Hive Queen as possible to pass this fight. Allow classes with rotational DoT spread to take care of any adds while burst classes focus on the boss.
- Have a team assigned to deal with extra Berserkers. This is usually best left to melee classes with gap closers and Force/Tech defensives who can kill them OUTSIDE of the group and then quickly return to single-target damage.
Role Tips
What you should know if you’re playing a Tank, DPS or Healer in this fight.
Damage Profile
- Skill Name: Pheromonic Blast and Toxic Pheromone Coating debuff
- Damage Type: Force/Tech > Internal
- Frequency: Up to every 8 seconds
- Damage Spread: As a large AoE, this attack will target one player and place a series on concentric circles on them: a smaller inner red circle, and a much larger outer yellow circle. Anyone caught in the yellow circle will take moderate damage when the projective lands. Anyone caught in the red circle will take massive damage as well as gain the Toxic Pheromone Coating debuff that ticks for further damage every 3 seconds for 15 seconds or until cleansed.
- How to Defend: Get the circles out of the group if at all possible and avoid tagging red eggs. Absorb shields and force/tech abilities mitigate this damage. In 16 person veteran, a defensive MUST be used by the targeted player to mitigate damage. Save periodic effect purges for Beserker Reft debuffs, though self-cleanses and healer cleanses work on the resulting debuff. Do NOT stealth out as it will stop the projectile and simply send it to another person.
- Skill Name: Staggering Strike (veteran only) – from Royal Guard
- Damage Type: Force/Tech > Kinetic
- Frequency: Up to every 24 seconds. Requires the Royal Guard to have the Concentration buff. A 4.5s delay will occur and then this skill will be followed by Execute, which will instantly kill the target. Expect this to occur about 20 – 22 seconds after Royal Guard spawn.
- Damage Spread: Single-target. A palyer with a shield generator will shield he attack; a player without a shield generator will take a massive hit. Includes a 6 second stun.
- How to Defend: Execute is unavoidable, so Staggering Strike must either be prevented or the follow-up delayed by using hard stuns on the Royal Guard until it is dead.
- Skill Name: Kick Out
- Damage Type: Melee/Ranged > Melee
- Frequency: Up to every 12 seconds
- Damage Spread: This is a single target attack that knocks the player back about 35 meters from the boss and resets their threat to zero.
- How to Defend: You can’t prevent the skill and it doesn’t deal enough meaningful damage to warrant a strong defensive. Simply be prepared for the skill by putting your back to a safe area and pick the boss back up as soon as you’re back in range.
- Skill Name: Reave and Reft debuff – from Berserker
- Damage Type: Reave is Melee/Ranged > Melee damage. Reft debuff is Force/Tech > Internal.
- Frequency: This skill has no cooldown and applies the Reft debuff with every use. Reft lasts 18 seconds and ticks every 3 seconds, or when a new stack is applied. It can stack up to 25 times.
- Damage Spread: Reave is a melee range frontal conal. Anyone in the 90 degree, 4 meter area of effect in front of the Berserker will build stacks and take damage.
- How to Defend: Turn the Berserker away from the group, use a Force/Tech defensive or absorption shield while focusing it down, and follow up with a cleanse after stacks are no longer being applied. Even if the Berserker is actively up, players should take no more than 2-3 stacks at a time before receiving a cleanse.


This is a very good guide
Just wanted to say thank you for your excellent guide and its beautiful presentation.